This guide explains how to install, configure, and test the DiliTrust Add-in for Microsoft Word through the Microsoft 365 Admin Center. Follow these steps to ensure a smooth deployment across your organization.
⚙️ Prerequisites
Before starting the installation, make sure the following requirements are met:
Licensing Requirements
- Microsoft 365 subscription: Enterprise E3 or E5, or Business Standard or Premium
- Active Office 365 license with:
- Word desktop application
- Online Exchange account
- Each user of the add-in must have one of the above licenses.
System Requirements
- Operating System: Windows 10 version ≥ 1903
- Office Version: Microsoft 365 version ≥ 16.0.13530.20424 (January 2021 or later)
- Browser: Microsoft Edge (Chromium-based) with WebView2
How to Verify Your Configuration
- Windows version: Press
Windows + R, typewinver, then click OK. - Office version: Open Word → File → Account → About Word.
- Edge version: Open Edge → click the 3 dots → Help and Feedback → About Microsoft Edge.
Install Microsoft Edge WebView2
- Go to the Microsoft WebView2 download page.
- Under “Evergreen Standalone Installer,” download the x64 version.
- Run the installer and restart your computer once completed.
1️⃣ Installation via Microsoft 365 Admin Center
Step 1: Access Integrated Apps
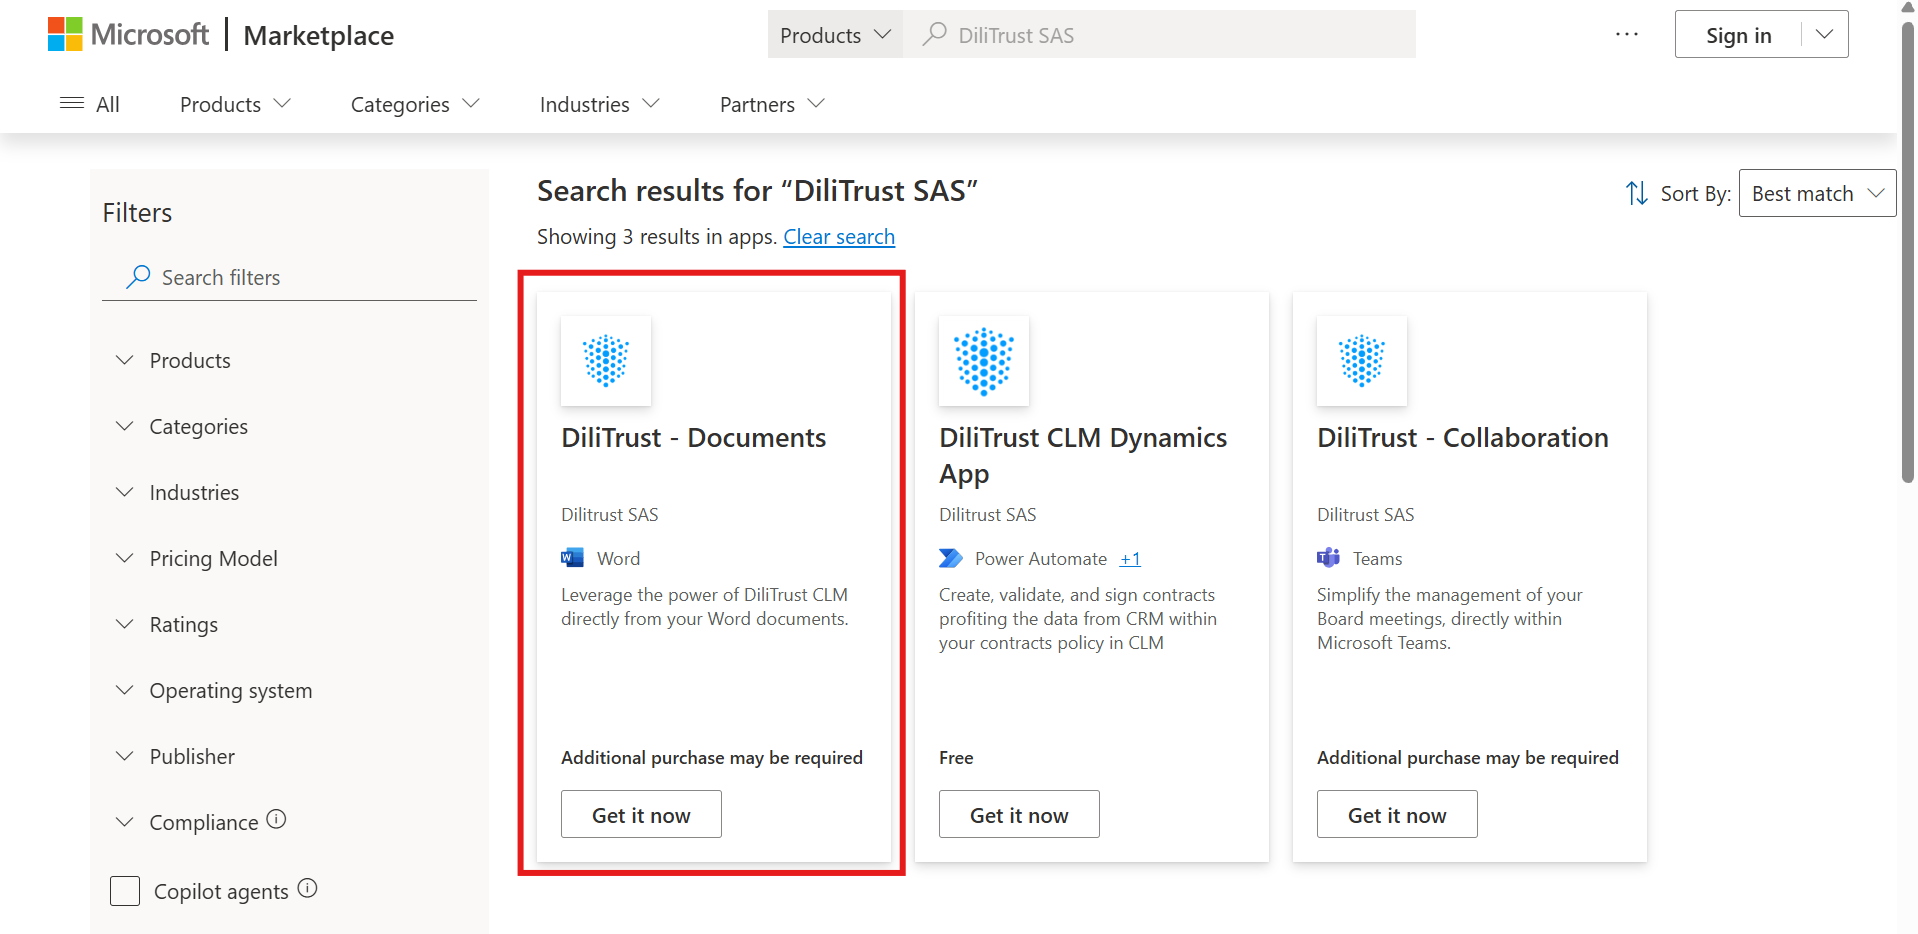
- Log in to the Microsoft 365 Admin Center
- Search DiliTrust SAS
- Download "DiliTrust - Documents"
Step 3: Grant Access Permissions
Finalize the installation by allowing the add-in to access the Word application.
2️⃣ User Deployment
Step 1: Access the Add-in from Word
- Open Microsoft Word.
- Click Insert → Add-ins → My Add-ins.
- Select Managed by Administrator.
- Choose the DiliTrust Add-in from the list.
3️⃣ Testing the Add-in
Step 1: Log in to DiliTrust
- Make sure you have an active DiliTrust user account.
- Login to DiliTrust and select Continue with Microsoft.
Step 2: Open a Contract in Word
- Once logged in, open a contract in DiliTrust.
- Click the Word icon at the top-right of the contract.
- For your first connection, open the document in Word Online.
Step 3: Accept Permissions
When prompted, accept the pop-up permissions to allow connection to DiliTrust’s SharePoint and enable Word usage.
Step 4: Verify the Add-in in Word Desktop
- Open the DiliTrust Add-in in Word.
- Save your document or add variables/documents as needed.
- Confirm that changes are properly reflected in DiliTrust.
✅ Summary
You’ve successfully installed and tested the DiliTrust Add-in for Microsoft Word! Your users can now work seamlessly with DiliTrust contracts directly within Word — simplifying collaboration and improving productivity.
Was this article helpful?
That’s Great!
Thank you for your feedback
Sorry! We couldn't be helpful
Thank you for your feedback
Feedback sent
We appreciate your effort and will try to fix the article